| Rust and Vengeance | |
|---|---|

| |
| Details | |
Quest Giver |
Broken Golem in Harmattan |
Location |
Harmattan |
Timed? |
✓ |
Dynamic? |
✓ |
Repeatable? |
x |
| Questline | |
Quest Type |
Parallel Quest |
Rust and Vengeance is a Parallel Quest in Outward.
Quest Summary[ | ]
This quest involves traveling around through the Antique Plateau dungeons to find four Gemstone Keys, which will allow us to enter the Forgotten Research Laboratory and confront the Forge Master. The dungeons are connected through a runic train system, and certain dungeons (such as the Forgotten Laboratory) are only accessible through this train system.
Start point[ | ]
The quest can be started at any time, unlike other Parallel quests this quest does not require you to join a faction first.
It will also automatically begin after you have completed your first faction quest when you next enter Harmattan, with a full 100 days remaining. If you complete your third faction quest before entering Harmattan, the timer will be reduced to 60 days remaining when you start the quest.
Timer[ | ]
This quest has a timer of 100 days, which starts at the beginning of the quest.
There are a number of ways to "extend" the timer of the quest, such as by defeating the Titanic Guardian Mk-7 who guards Gemstone Key A, as well as the Giant Horror who guards Key D, both of which grant a fresh 60 day timer.
- Note: If you have more than 60 days remaining in the quest, these timer "extension" will actually lower your remaining time to 60 days! They do not add on to the timer, they just set it to 60.
If you have finished your main Faction quests, the timer will be reduced to 60 days remaining.
Walkthrough[ | ]
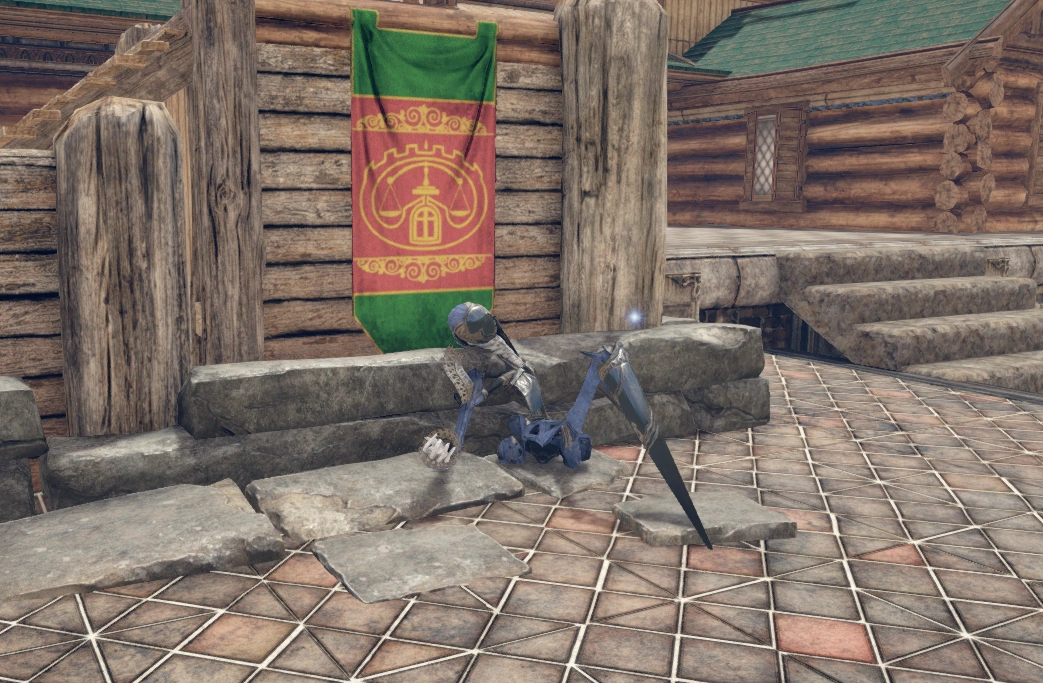
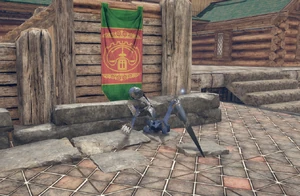
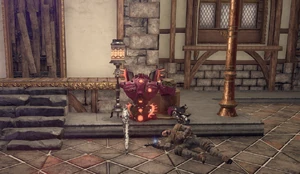
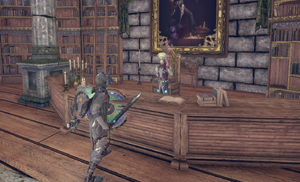
The broken golem in Harmattan where you begin the quest.
| “ | Someone called the “Forge Master” is threatening harm to Harmattan City in 100 days... | „ |
To begin this quest, find the broken Sword Golem in Harmattan, near the Citizen's Barracks Inn. The Golem requires 3 Power Coil to be repaired. Members of the Sorobor Academy will automatically have the cutscene play when entering the public square after completing Up The Ladder. Members of other factions will automatically have it the first time they enter the public square after finishing all their main faction quests.
Interact with the golem and choose to repair it with your power coils, and a cutscene will play. A Booming Voice informs the Harmattan townspeople that intend to harm the city in 100 days.
The golem breaks down and collapses, and we can interact with it a second time to touch a strange rune and attune ourselves to some kind of power.
| “ | You have touched a strange Rune inside a Golem...You can now enter the ruins near the Ancient Bunker, the Ruined Hippodrome, and the Ancient Turbine.
There should be a way to delay the Forge Master and gain more time... |
„ |
We can now enter the Ancient Bunker (Abandoned Living Quarters), the Ruined Hippodrome (Ancient Foundry) and the Ancient Turbine (Destroyed Test Chambers).
| “ | Find 4 Gemstone Keys to activate the Large Console inside the Forgotten Research Laboratory. | „ |
Key A[ | ]

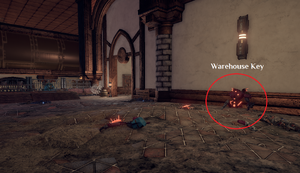
The location of the Warehouse Key.
Head to the Ruined Hippodrome marker (Ancient Foundry), and enter the dungeon from the small room in the west of the ruins. Head west and kill the Rusty Sword Golem for the Foundry Assembly Line Key, then head north-east to the locked door and open it with the small console at the bottom of the ramp, then head through it.
Head east down the corridor, then south into a room with two Rusty Golems, and broken red golem with the Warehouse Key laying on the ground next to it. Make sure you take this Warehouse Key, and then pull the lever to your east to unlock the gate ahead. Unless you have already unlocked the runic train system for this dungeon, there is nothing else to do here now, so you should head back to the entrance and leave the dungeon.
Make your way to the Sealed Warehouse (Ruined Warehouse) in central Antique Plateau, unlock the gate with the Warehouse Key, and enter. Walk a short distance east, and then head south into the corridor. Continue through the dungeon, heading west as far as possible until you come to some mine cart tracks.

The elevator above the Titanic Guardian.
Head north to an opened gate, and then west down the ramp towards a runic sign. Head north past the Immaculates, take the right side of the giant pit, and head all the way around until you are facing south, then head down the ramp.
In this large room at the bottom of the ramp there are several modifications you can make to the fight ahead, which may be beneficial depending on your gear and build. See the Titanic Guardian Mk-7 page for more details.
When you are ready, enter the ornate door in the north of this room, and activate the elevator to lower yourself into the fight with the Titanic Guardian Mk-7.
Defeat the Guardian and you will receive the Galvanic Chakram. The Gemstone Key A will be on the ground beneath it, sitting on a stone titan mask. You have also reset the timer for this quest.
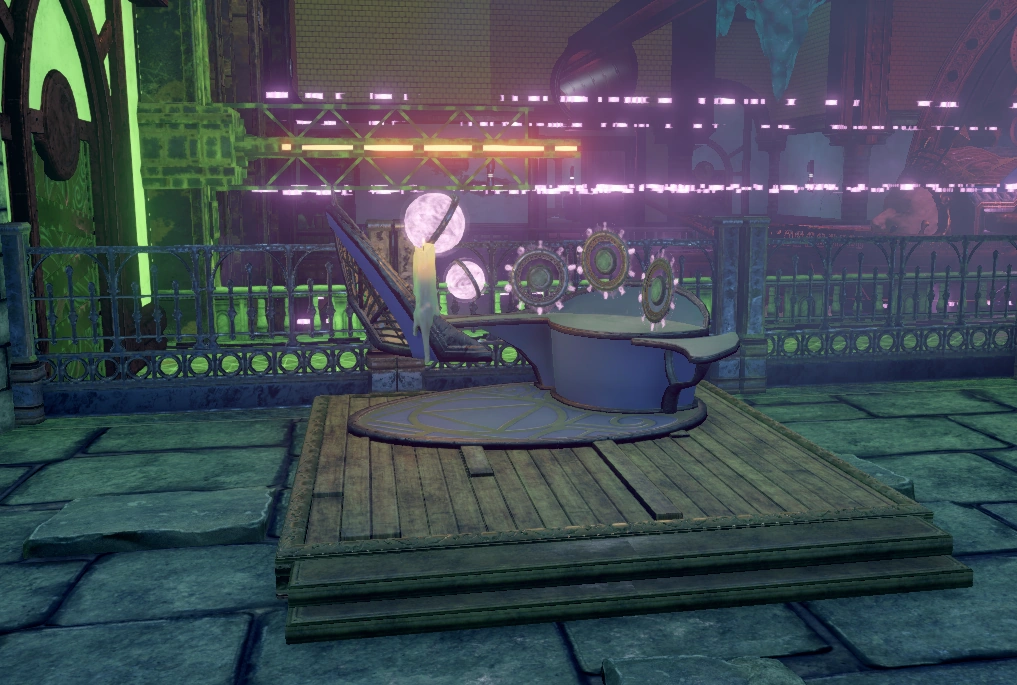
Unlocking the Trains[ | ]

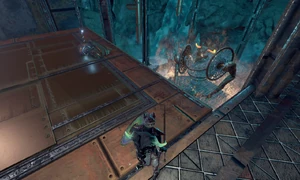
The location of Train Key B in Abandoned Living Quarters. Train Key A is sitting next to an identical golem in the Destroyed Test Chambers.
Before we head any further it will be beneficial to unlock the Runic Train system. Head to the Abandoned Living Quarters (marked as Ancient Bunker) in north-west Antique Plateau, and enter the main entrance.
From the entrance, head west through the city area until you come to a cliff overlooking a large cave with giant mana crystals. Head north along this wall into a small area with some Kazite Bandits, then east onto a raised platform and pull the lever here to open the big gate.
Drop down from the lever area to below, and head towards the bandits and troglodytes fighting ahead. For players NOT on the Definitive Edition, here on the ground next to a broken red golem, you will find the Train Key B. While you are here, you can pick up the nearby Troglodyte Cage Key from a looters corpse if you want to. (Corpse is located in a 'secret' cave directly West of Train Key B, in the same room.)
Continue down through the dungeon and look for a bright red Troglodyte Knight on the floor below, they will drop a Lower Living Quarters Key. With this key, look for a locked door to the north-west, near two bright purple runic signs. Use your key on the small console next the door to unlock it, then head into the room on your right to the train.
Board the Runic Train ahead and take it to Forgotten Research Laboratory. Disembark the train and head over to the large console (note: beware, an aggressive Immaculate may be nearby) and use your Gemstone Key A on the left-most console to insert it for safe keeping.
We will need to collect three more keys: one at Compromised Mana Transfer Station, one at Lost Golem Manufacturing Facility and one at Crumbling Loading Docks. Before we can do this all we will need to head to the Destroyed Test Chambers and unlock the rest of the train system.
Board the train again and take it to the Destroyed Test Chambers.
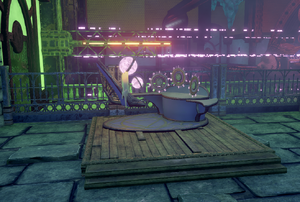
A console in the Test Chambers used for unlocking the train system
From the Destroyed Test Chambers, disembark the train, cross over the bridge above, and then head west through the dungeon. Continue west until you see an opening to the north on your right, head through and defeat the Liquid-Cooled Golem (regular Golem on non-Definitive Edition) in this ![]() cold room, who will drop the Lower Test Chamber Key. Take the key and use it on the small console to the south-east in this room, and head through the door. Take the elevator to the south up into a
cold room, who will drop the Lower Test Chamber Key. Take the key and use it on the small console to the south-east in this room, and head through the door. Take the elevator to the south up into a ![]() hot area, and then head north through the rooms until you come to a large open area with Molten Forge Golems. To the south-east in this area you can see a blue lever, make sure to pull this lever to unlock a gate in this area.
hot area, and then head north through the rooms until you come to a large open area with Molten Forge Golems. To the south-east in this area you can see a blue lever, make sure to pull this lever to unlock a gate in this area.
Turn around and head back to the glass room, then go to the north side of this room and enter the crack in the wall. Head north-west through these rooms until you are able to head east into a large open area. Head all the way east past the machinery, and then south into an area with target boards and hanging trogs. On the south fencing of this area there is a red broken golem, where you will find Train Key A on the ground. Take this key, and then retrace your steps back through this dungeon to the elevator, and back down to the runic train where we entered.
At the runic train, cross over the bridge and head south-west into a corridor. Turn west and then north, and use your Train Key A on the console here to unlock the runic train path.
Turn around and head back to the runic train, and head all the way east back to where we disembarked the train when we entered this dungeon.
Non-Definitive Only: before we leave, you can cross over the bridge above and use your Train Key B on the other runic console here to fully unlock the train system.
Key B[ | ]

The location of Gemstone Key B in Compromised Mana Station.
Cross back over and board the train to Compromised Mana Transfer Station. From the train, head south-west, then west through a tunnel towards some Illuminator Horrors. From there, head south to the elevator and ride it up to the next level.
Take the second elevator here up again to the next level, then walk around west to the raised platform where you will find the Mana Transfer Elevator Key.
With the elevator key, take the elevator back down to the level below, then head as far east as possible until you reach the Mana Transfer spiral. Walk onto the raised platform and use the key on the console.
Head south to the now-working elevators and climb on. Quickly walk off when it reaches the top onto the top level, which is ridden with ![]() Corruption. Head south-west through this area, then south through the corridor, and finally east into an area with metal platforms to your right. Also to your right near a stone titan mask is Gemstone Key B waiting for you on the ground.
Corruption. Head south-west through this area, then south through the corridor, and finally east into an area with metal platforms to your right. Also to your right near a stone titan mask is Gemstone Key B waiting for you on the ground.
Optional (unlocks a shortcut for the future): Continue around the metal platform past the Illuminator and Shell Horror, and run up the wooden plank. Head a little more North. The large door on your right (East) is the exit to Antique Plateau, the exit of Mana Transfer Station has placed us at the Abandoned Fortress in South Western Antique Plateau. Pull the lever ahead of you to open the gate to enter the Station in the future.
Head north / north-west as far as you can until you return to the elevators, head down, and then head north down to the runic train, and return to Destroyed Test Chambers, and then into Lost Golem Manufacturing Facility.
Key C[ | ]
In Lost Golem Manufacturing Facility, we simply need to get to the top of the dungeon where the exit to Antique Plateau is, if you know where that is already.
Head south as far as you can, and then turn around and go north over the bridge above the runic train line. Head down the stairs, and then south until you can go through an opening on your right. Head west through this area to some stairs that you can climb up, then go north past the steaming vats of liquid. Head up the ramp to the west and climb up several flights of stairs. Run past the Grotesque enemies and cross over the bridge heading east. Head north, then west into the crack in the wall, east out the other crack in the wall, and then west through this large open area. Go through the doorway, head up the ramp on your left and pull the lever to unlock the door.
Turn to your north from the lever and you will see Gemstone Key C sitting on a skull, take it. For Non-Definitive Edition players the key will be outside, read the paragraph below.
Optional (unlocks a shortcut for the future): Leave this room and head back east. The first door on your right is the exit to Antique Plateau, the exit of Lost Golem Facility has placed us at the Old Theater in eastern Antique Plateau. Head directly west and pass through the corridors out of the Theater, then onto the broken bridge. At the end of the accessible part of the bridge there is a rope we can interact with which will activate a shortcut into the Lost Golem Facility for the future. Take this rope down to the ground, then back up again.
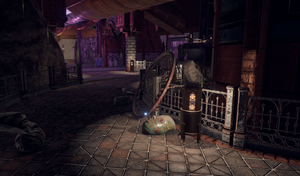
Key D[ | ]

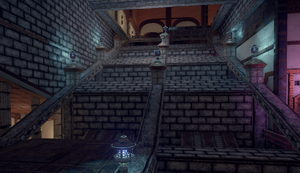
The elevator system in the Crumbling Loading Docks.
Head back into the Lost Golem Manufacturing Facility and make your way back to the Runic Train. There's basically only one way to go through the dungeon so it should be hard to get lost, just try to keep heading down.
Back at the runic train, board it and take the train to Crumbling Loading Docks.
At the Crumbling Loading Docks, head south into the large room with a series of circular walls. Enter from the eastern side of the walls, and then head out to the south, then around the outer north-western corner to the northern doorway. Go south through the corridor, then east down the stairs and collect the Loading Docks Elevator Key near another red broken golem and Adventurer's Corpse. Head back up the stairs, and then south-east around the room into another small room with 2 Beast Golem. Use the console in this room to activate the elevator system in this dungeon, then head back the way we came to the elevators. Note: if you are careful not to fall, you can also walk your way up the elevator frames without turning them on.
Climb on and head up to the next level of the dungeon. To progress further we will need the Loading Docks Key, which is found from a Sword Golem. You can find this Golem by heading south-west and following the dungeon through, there is only really one way to go, eventually you will come across the Sword Golem. Defeat it and take the key, then return to the elevator and unlock the door.
Take the elevators up a second time to the third level. Head north, and then north-west through the doorways until you come to the door for a Quarantined Room. The fight ahead will inflict high levels of ![]() Corruption, so make sure you are prepared, an extended fight may see you reaching 100%.
Corruption, so make sure you are prepared, an extended fight may see you reaching 100%.
Head into the Quarantined Room and walk into the corrupted zone ahead to begin the fight with the Giant Horror. Once you have defeated it you will receive the Porcelain Fists and the levels of corruption in the dungeon will be lowered.
After defeating the Giant Horror, leave the room and head directly east to find the key on the ground, sitting on a giant's skull. For non-Definitive Edition players, the key will be outside again.
Optional: return back to the elevators, but take the exit to Antique Plateau on your left through the small white Vigil Pylon. Ahead you will find a wooden plank you can kick down to unlock a shortcut for the future into the Crumbing Loading Docks.
The Forge Master[ | ]

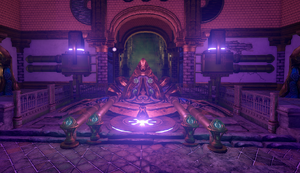
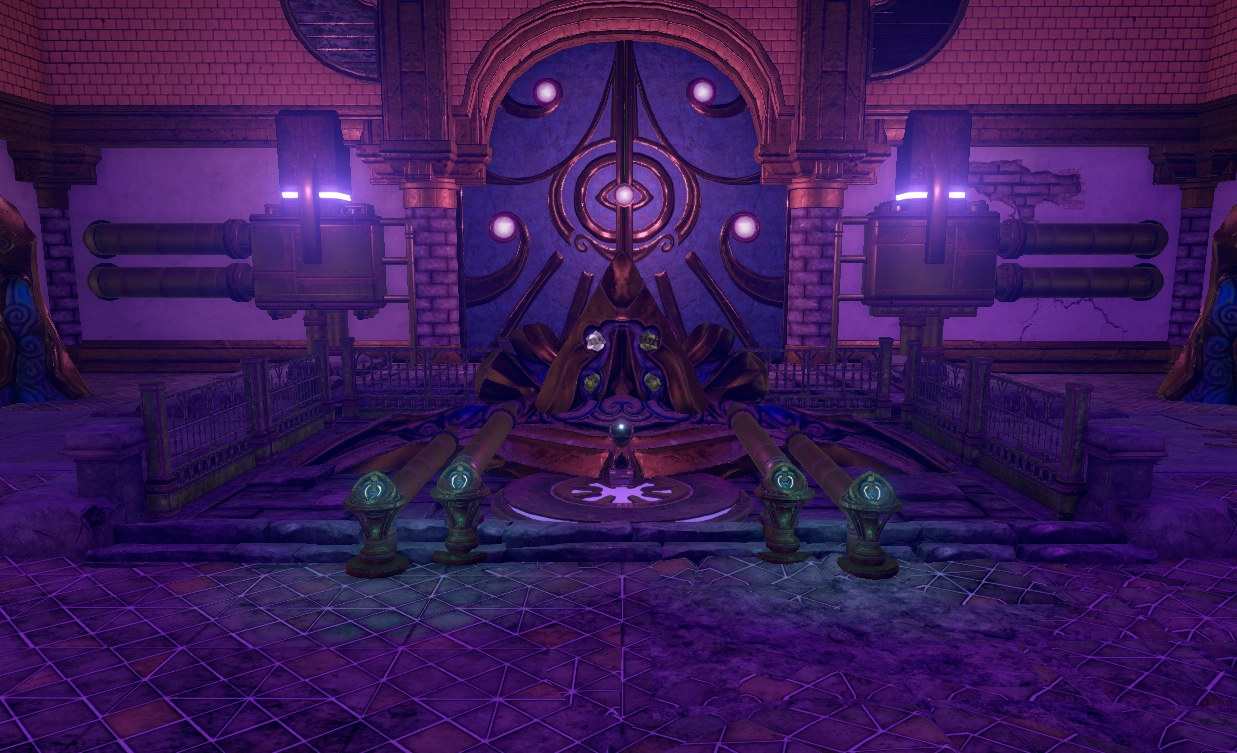
The giant door at the Forgotten Research Laboratory, now opened.
To access the Forgotten Research Laboratory you can either return through the Crumbling Loading Docks back to the bottom and take the train there, or you can head back to Harmattan and prepare for the dungeon ahead, and then use the train from the Ruined Warehouse.
To get to the train in the Warehouse, head back to the boss fight room, and then head out the other door in this room. Continue south through the corridors until you reach the runic train line on your right, and take it to the Forgotten Research Laboratory.
Head over to the console and insert your other three Gemstone Keys, and pull the lever. The Booming Voice will speak to you once again, and the giant doors ahead will open. Take note that the area ahead is filled with ![]() Corruption.
Corruption.
| “ | Find the “Forge Master” and defeat him! | „ |
Head through the doors and up the stairs, optionally defeating enemies as you go. Continue up through the dungeon until you reach a room with a locked door ahead on your right and an open door on your left. Go through the open door and you will come across a Sublime Shell and an Arcane Elemental. Defeat the Sublime Shell for the Lower Laboratory Key, which will unlock that aforementioned locked door.
Use the key on the console by the locked door and head through. Continue up the stairs and through the dungeon. There is only one way to go here, just keep pushing through and you will come to a metal platform with a lever. Pull this lever to unlock a gate and drop down below. Head east through the doorway and then turn left into the newly unlocked room with a teleporter.
After taking the teleporter, head east as far as you can and turn left into the small room with a Sword Golem. Take the Misplaced Lab Lever from the table in this room, then head back towards the teleporter and turn left through the doorway. At the end of the hallway on your left you will find a raised platform area, and a broken lever which the misplaced lever belongs to. Interact with the broken lever and a doorway ahead will open, drop down and proceed through it.
Push on through the dungeon (again, there is only way to go), passing through several library rooms and climbing several sets of staircases. When you finally reach the top you will notice a familiar purple glowing mana tube on your right and the door to the boss ahead.
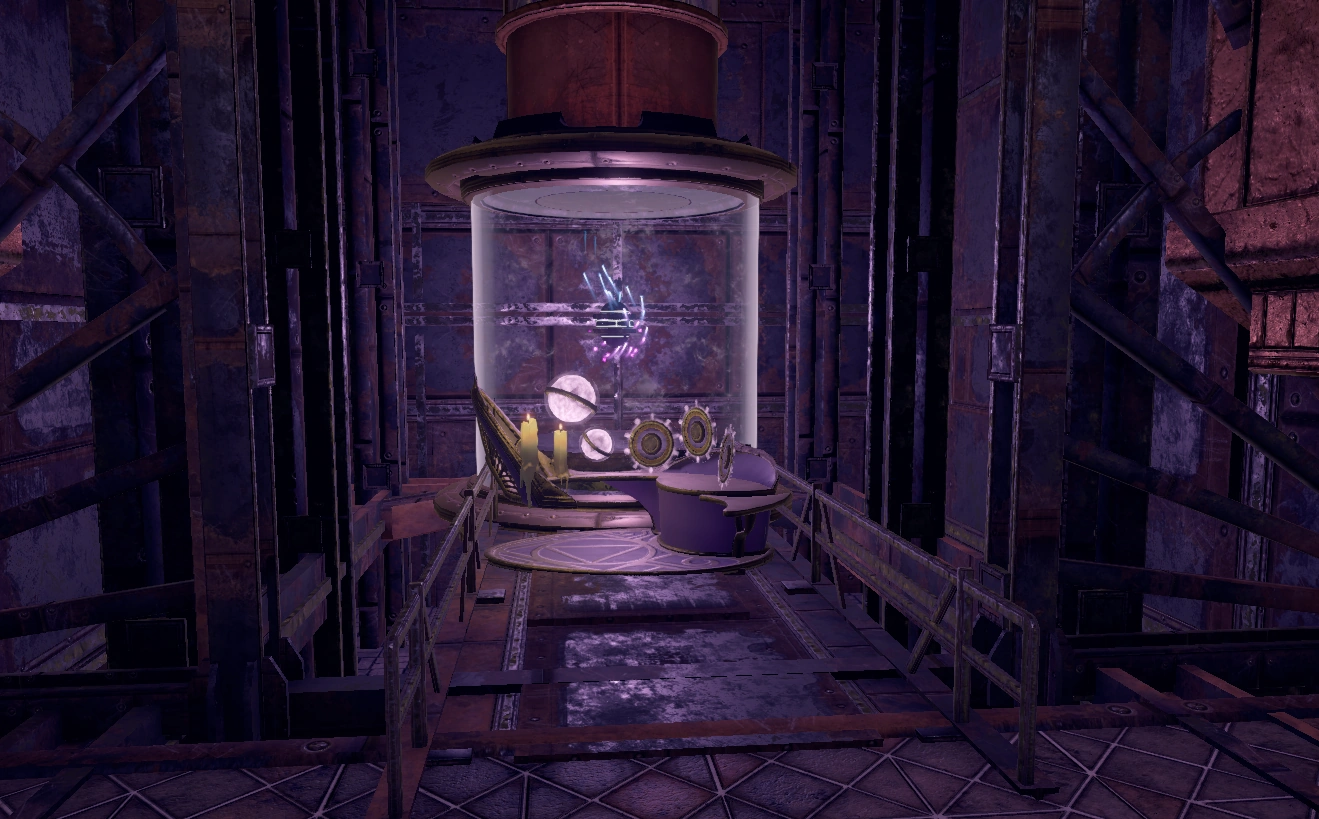

The Forge Master's Phylactery.
When you are ready, enter the door and begin the fight with the Forge Master. Details about the Forge Master including his stats and what to expect in the fight can be found on his article. Essentially the fight involves defeating his Molten Forge Golem minions to remove his impenetrable barrier shield, then dealing as much damage to him as you can before he re-actives the shield until you finally defeat him.
| “ | Destroy the Forge Master's Phylactery, or return in a few days to fight him again. You have a fresh time limit of 60 days. | „ |
After the fight, you have the option to permanently kill the Forge Master by destroying his Phylactery. There is no confirmation or warning when you interact with the Phylactery, so make sure you really want to kill him before you do it. You can return here and fight him again weekly if you want to, the fight will progress to more and more difficult levels each time (details unconfirmed).
| “ | Deal with the dying Forge Master. | „ |
When you choose to destroy the Phylactery you will have a final cutscene with the dying Lich, before he dies a mortal death.
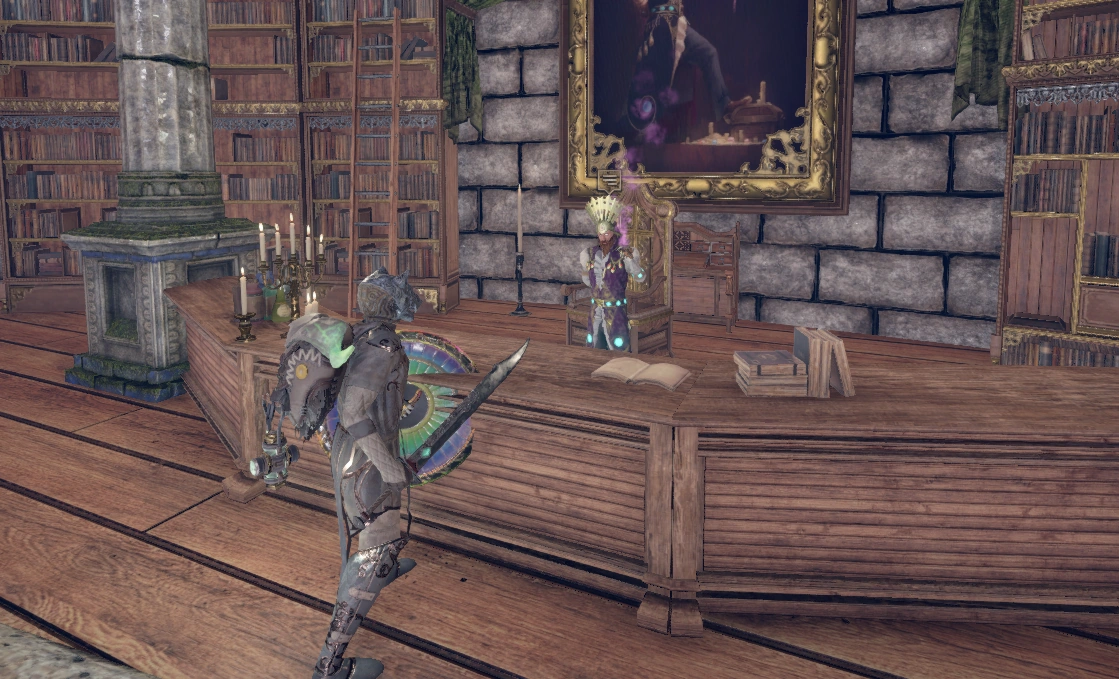
The player speaks to Headmaster Salaberry to collect their reward.
Leave the boss fight room through the other door (not the one we came in, the one to the left of the bottom of the stairs). Ahead on your right there is a door which is a secret shortcut into the Sorobor Academy Library in Harmattan. You can use this shortcut whenever you wish, and there is an elevator in the same area as this door to get to the bottom of the Forgotten Laboratory, where the Runic Train is conveniently found.
| “ | Speak to Headmaster Raul Salaberry for your reward. | „ |
Head past Hugo, up the stairs, and to Headmaster Raul Salaberry. Speak to him to collect your reward for the quest. If you completed it in time you will receive 500 ![]() Silver, and one of each Elemental Particle.
Silver, and one of each Elemental Particle.
Outcomes[ | ]
If successfully stopped the Lich within the time limit:
- Rust Lich Set
- 500
 silver
 - 1 of each Elemental Particle
Timer Reached[ | ]
If you fail to stop the Lich within the time limit: